Pancakes & post production. Not two things you might at first put together. But using pancake timelines can be an extremely effective way of working - so bear with me!
Very recently I began working on a series of edits for Premier League kicks.
If you’ve not heard of it, I’d encourage you to do a quick Google search and check it out. It's a really cool scheme.
Anyway, the edits we were working on consisted of footage shots at 6 different Premier League clubs - and there was a huge volume of it.
Each shoot had two cameras, a GoPro and some also had a drone operator collecting material also.
The main edit was a 3 to 4 minute explainer of how the organisation works, and what it offers. And as such, that meant it had to feature the absolute best shots from all 6 shoots.
As always the timescales for delivery were pretty tight - we began the edit, and were having new content delivered pretty much every day up until the deadline for a first approval cut.
By the time we had all of the material in, there was well over 2,500 clips to work with.
This meant that we had to work quicker than quick, and so myself and the director began the edit by making selects from the various GVS (general views or sometimes referred to as none-sync, or B-roll) and adding them to club / theme specific sequences.
Now here’s my first tip for Premiere Pro users when doing this - this technique is a super quick way to review your material, and make selections from it.
First thing you need to know is that you can use your keyboard to make certain user interface panels active.
Shift + 1 makes your Project Panel active,
Shift + 2 makes your Source Panel active,
Shift + 3 makes your Timeline Panel active
Shift + 4 makes your Programme Panel active.
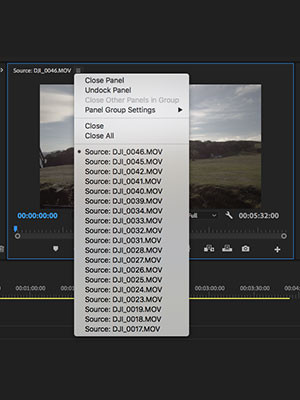
Now this is useful to know anyway - but when it really comes in handy, is when you have more than one clip loaded into your Source Panel. Because once it’s the active panel, pressing Shift + 2 again will load your next clip, and then each subsequent time you press it, it will continue to load the next clip and so on.
So the tip here is - add a series of clips into your Source Panel - use your J & K keys to shuttle back and forth through the clip, then use the I & O keys to mark your in & out points. Then - providing you have a timeline created and ready to receive this selection - hit either the full stop key, or the comma key. This will do an overwrite or insert edit respectively.
It’s important to note here that it is the location of the playhead on your timeline that will dictate where this clip will land on the timeline.
You also need to be aware of your timeline source targeting. Generally speaking for me if the goal is to create a selects sequence - then I make sure V1 & A1 are my selected source targets.
Once you get used to doing this you will quickly find that you can build a selects sequence extremely quickly, and more crucially, mostly without using the mouse. It’s a really neat way of allowing you to review your material, and pick the shots that work.
Given that the vast majority of sequences which I work on feature a combination of soundbites (interviews or talking head clips) and GVS, this technique is pretty much all I need to get most jobs done.
Using the example of these Premier League edits - it was our director and edit producers who selected most of the interview clips, and the above technique works really well when selecting interviews also.
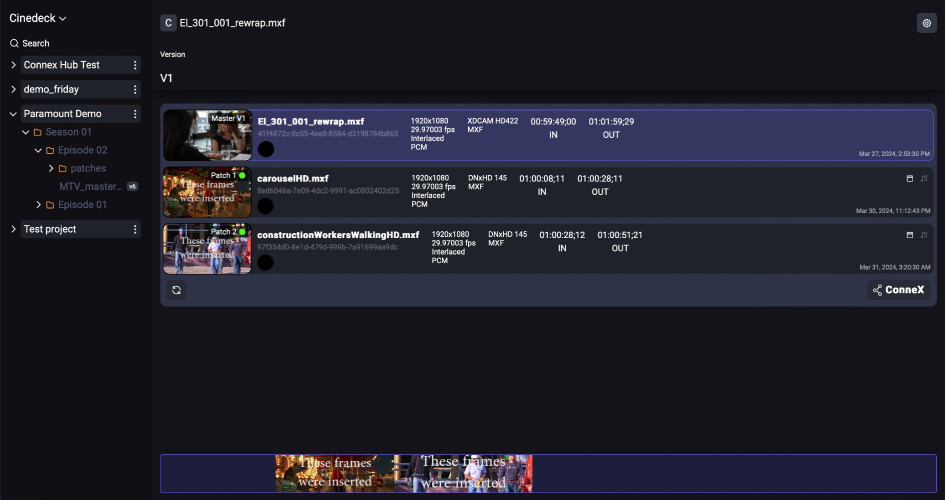
Once you’re in a position where you’ve got all of selects made - this is when the pancake edit comes into play.
Essentially this is a workspace hack, and to make it work you’ll need to have more than one sequence open.
Normally I have my working draft of the main sequence open, as well as any of my selects sequences. If you click and drag the name of your selects sequence, it will separate from its current docked position in the workspace. Now if you drag it above you’ll create stacked sequences in your workspace.
Then it’s simply a case of dragging the clips that work down from your selects sequence - to you working draft. Simple! This technique was invaluable for the Premier League edit. Give it a go - you ‘batter’ believe it’ll save you a tonne of time!


