by Toby Tomkins Issue 85 - January 2014 Colour grading for me is about the final sculpting of the image, in terms of colour, tone, texture and composition. My goal as a colourist is to push the colour, tone and texture to reflect the desired emotion and story of the image. I choose DaVinci Resolve to be my metaphorical chisel because it has a toolset that lets me concentrate on the creative side of the craft rather than the technical. So whats new in Resolve 10?
One of the biggest updates to DaVinci Resolve 10 is the expansion of its online editing toolset. The expanded range of XML support for effects from offline editors, such as support for keyframes, title support, speed ramps and audio now saves you time in the conform rebuilding the edit.
Checking the conform is also as easy as ever, with the ability to add an offline reference to our timeline and crop it for review on a reference monitor.
Primary and Secondary Colour Correction
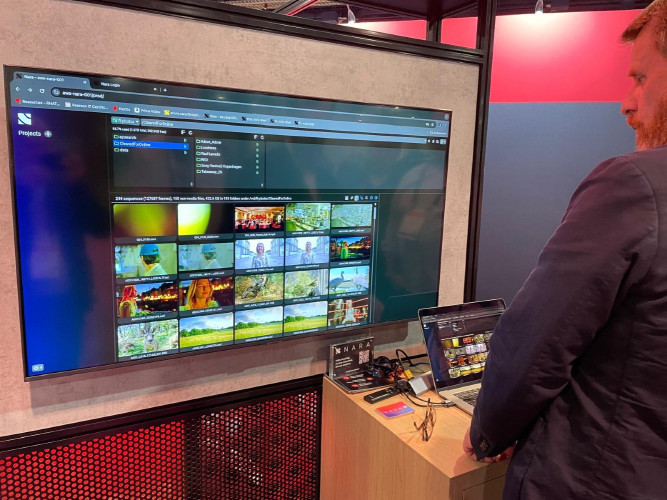
In a similar fashion to editors being concerned with continuity, colourists need to be aware of the image continuity. Matching shots forms important groundwork for creating a fluid transition of colour and emotion throughout our shots. Resolve 10s gallery and reference features are incredibly useful for this, letting us reference other shots from the timeline, offline reference or even imported stills. These references can be placed side-by-side, wiped and even mixed with the shot youre currently working on.
After matching has been done, usually with primary corrections such as global lift, gamma, gain, offset and channel mixing adjustments to balance the shadows and highlights, its time to start building a look.
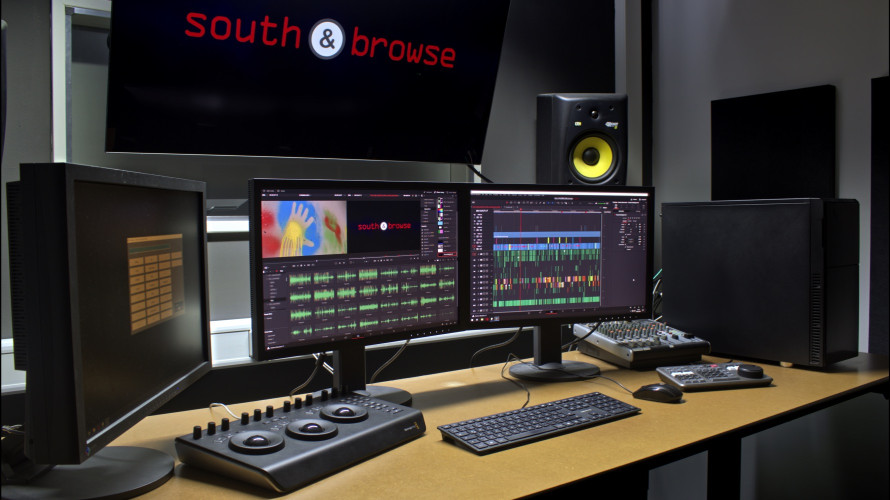
I believe a good global primary correction is key here, and Resolve lets you do this quickly and easily with its wide range of primary correctors. A control surface really helps here, letting you adjust multiple controls at the same time, such as gamma and gain, all with fine detail. Resolves internal YRGB colour space also lets you separate adjustments between luminance and colour, which is great for creating strong commercial looks.
After the base look has been achieved with primary correctors, its time to add any secondaries required to enhance or subdue certain colours and shape the image and colour once more. This is where Resolve 10 really stands apart from colour correcting plugins and correctors found in editing packages, with advanced qualification, windowing and tracking tools. Powerful Power Windows
The toolset has expanded once more in version 10 and includes tools that let you do more secondary grading work, in less time, including unlimited windows within a node, Bezier windows, gradient windows, window shape presets and improved keyframe copy and paste. DaVinci has become a very refined colour corrector and I dont believe any plugins or NLE based colour correctors come close to the new Resolve in terms of flexibility, creative options and real-time performance.
Resolves new Beziercurve power windows let you precisely shape any secondary correction in seconds, and the everreliable tracker will keep it locked on the subject. Better yet, we now have unlimited windows within the same node, so if you need to window and track three obscure shapes and apply the same corrector to all of them, you can now do that in a single node without using a key mixer node. This can save you a lot of time!
One of my favourite things about Resolve is the node based correction structure. Node based compositing was once only accessible in VFX software and its great to have that level of flexibility in grading software. Having the ability to carry out parallel corrections and blend corrections with another correction really opens up a lot of options. With all the Photoshop blending modes available in each node the possibilities are endless. I find this much more powerful than layer based alternatives.
Paint and Repair
Another plus is the ability to apply Pan, Tilt, Zoom and Rotate (PTZR) changes to nodes. This opens up a world of possibilities when it comes to VFX, allowing you to do basic compositing and paint, saving the amount of work done by the VFX team and letting you do more in the grade. Not only will this will save your clients time and money, but it will also make you, the colourist, more valuable.
The introduction OpenFX plugin support is another new feature of Resolve 10, with plugins for adding various effects such as flares, texture (grain) and temporal effects. Gen Arts Sapphire for Resolve 10 alone has over 250 effects. Coupled with the ability to treat these effects like any other node i.e. using windows and blending, this really opens up possibilities that were once only available in dedicated hardware VFX systems. On Set Grading
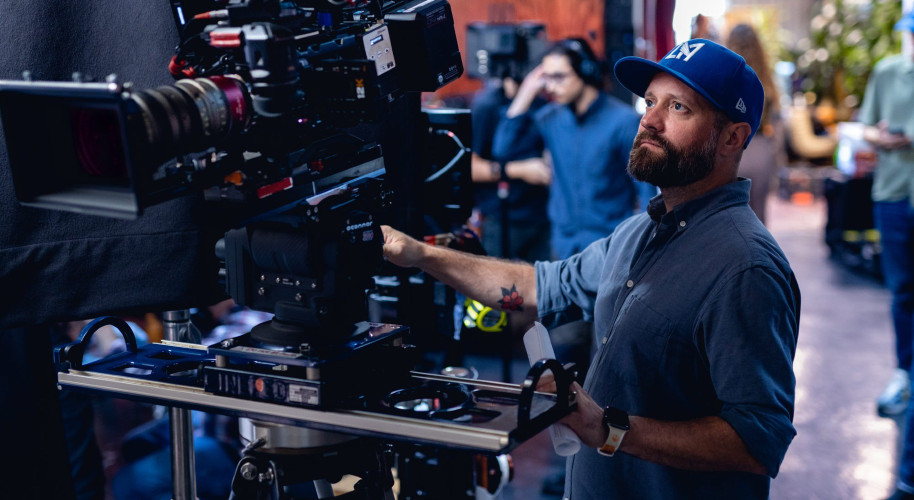
As more and more productions are shooting RAW material, it is becoming increasingly more important to set looks on the material for the offline. On-set grading has taken off in the last couple years and although Resolve 9 was a fully featured DIT tool, Resolve 10 now also has Live Grade. This means that a video feed from the camera can be graded in real-time and displayed on a monitor on set.
This is incredibly liberating for the DoP and director, letting them see their intended vision come together on screen, eliminating the constant interplay between DIT, post and set. This real-time feedback lets DoPs and directors work with both lighting and the grade simultaneously, a dream come true for some. These on-set looks can be saved and added to a gallery for late use in dailies creation and also as a starting point in the final DI.
Resolves DIT features are phenomenal, however features would mean nothing without performance and version 10 packs a punch. It performs the quickest transcoding Ive ever seen, regardless of whether its Red, Alexa, Sony or Canon RAW footage. Ive seen Resolve systems hit 100FPS transcoding Alexa ProRes4444 files to graded ProRes422 QuickTime files.
Noise Reduction
It also features new noise reduction features, with temporal (up to 4 frames blended) noise reduction being added to the existing spatial (single frame) noise reduction toolset that was available in version 9. This temporal noise reduction can protect detail while reducing the noise and doesnt introduce softening like spatial noise reduction can.
As with any other node the noise reduction can also be applied to colour and luma channels independently. This is a big addition as it allows us to refine the noise reduction to keep maximum sharpness in our image. Further more, it we can also use it with qualifiers and windows, so you have maximum control.
The Render
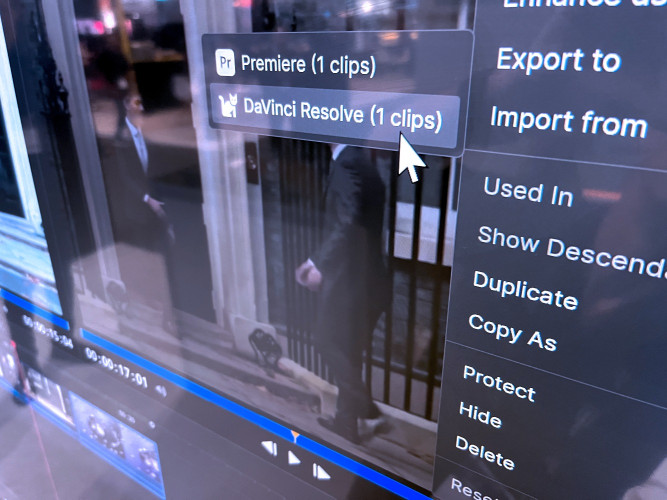
When it comes to output, Resolve 10 has you covered and outputs to every standard format available. Multiple formats and resolutions can be added to the render queue and you can batch render all of your deliverables at the end of the day. There is now no reason not to finish out of Resolve. With the EasyDCP plugin you can even render out a Digital Cinema Package from Resolve 10.
Review: DaVinci Resolve 10

Author: Toby Tomkins
Published 1st February 2014