by Brandon Kahn
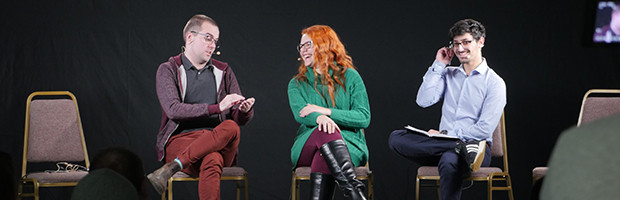
Issue 80 - August 2013 When Mothers Basement came to us with an advert to put on UK cinema screens, I knew my trusty, but basic, XF 305 wasnt going to cut it. Sure, most ads you see in cinema are projected in regular HD and are often shot no higher than 1080, but I felt we needed some extra size. Some extra dynamic range and colour information. In short, we wanted our cinema ad to reach for something a bit more cinematic.
And our hire company was all out of F5s.
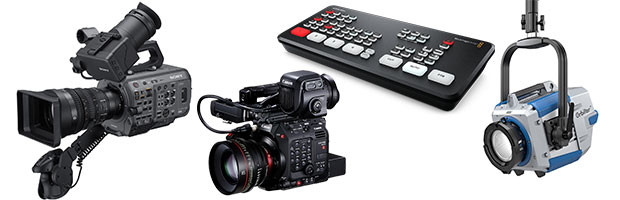
So we said, What the hell, lets go nuts and try Blackmagics first stab at a camera, the creatively titled Blackmagic Cinema Camera (BMCC for short). Sure, the enormous lens mount on the 2.5K sensor makes no sense and the thing is, like, impossible to operate in anything but tripod-in-a-studio conditions, but weve dealt with worse. Right?
Short answer: Yes
Yes, we have certainly dealt with worse cameras and so long as you can deal with complicated workflows, giant piles of data and quirky operation, this little camera can deliver BIG. While I cant completely recommend buying this first generation camera, its a great hire for the right project and Blackmagic clearly is moving in the right direction. Their second batch of cameras seem to deal with some of the aforementioned issues and are looking like seriously worthy upgrades.
Longer answer, Part 1 (Filming)
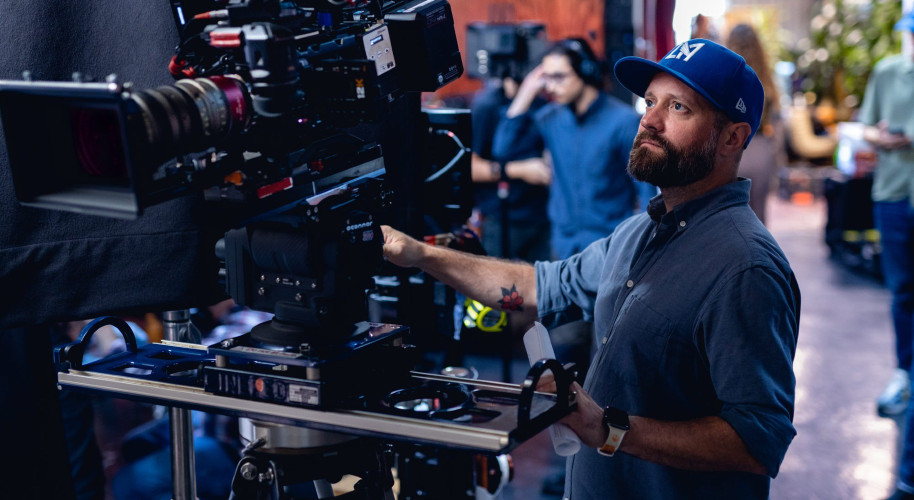
First thing I got wrong: I didnt specify which rig I wanted. Our hire company (the amazing and ever-awesomeMedia Dog Hire) sent us out with a tripod-ready set up, complete with external battery, rails, matte box and ND filters, which was great for our dolly shots. The rig is simpler than a lot of the horrifying spaghetti and iron things youll see, but it gets the job done. Unless youre going handheld, which I was. I would have been better off with a shoulder rig not unlike the one I made fun of above. Completely my fault for not making the distinction.
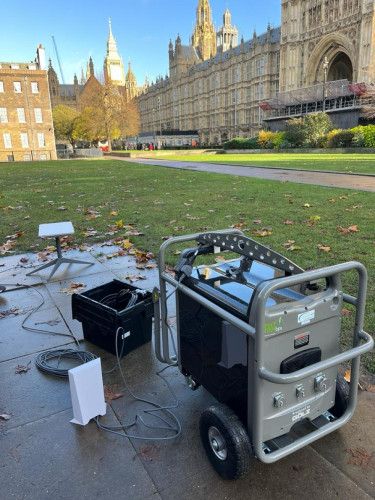
Anyway, point is, make sure you get something that you can use handheld if thats what youre doing. If you dont, seeing what youre doing on that nice, but ultimately useless, LCD screen on the back will be a bit of a luxury. You might also have trouble framing as holding it can get awkward quickly. Give yourself an hour or so testing it in the comfort of your own home before going out on a job and youll get used to the boxy little guy (I did). A few more reasons I was happy to use the BMCC, despite its quirks: the shoot was outside. I had a lot of space and could back away from the subject without hitting a wall or getting any lighting in frame, so the crop factor wasnt crippling. Also, shooting in England outside is a bit of a nightmare as the cloud cover shifts constantly. Shooting RAW is great in this situation as you can fix white balance after the fact to get all of the images looking about the same.
And about that crop factor¦ I would recommend using ANYTHING BUT the EF mount version of their 2.5K model (EF mount on the new 4K model is just right). Its been said a whole lot, but it bears repeating, the EF mount is completely wrong for this camera and the crop factor is just stupid. I wish there was a Micro Four-Thirds version available as I could have used longer lenses, which would have given us a bit less depth of field.
Longer answer, Part 2 (Post Production)
I love RAW. You love RAW. Everybody loves RAW. And I love bigger than HD resolutions. And DaVinci Resolve Lite is the greatest piece of free software ever to grace this fair planet, particularly for grading RAW footage from the BMCC.
The only caveat, which applies to people like me who hire, but do not buy (and who buys cameras anyway?!), a BMCC, is that DaVinci Resolve Lite will not EXPORT at higher than HD. It will import and work flawlessly with just about anything, but once youre ready to export that slick grade, it aint going above 1080. And like I said earlier, I thought this ads epic feel needed every pixel it could hang on to.
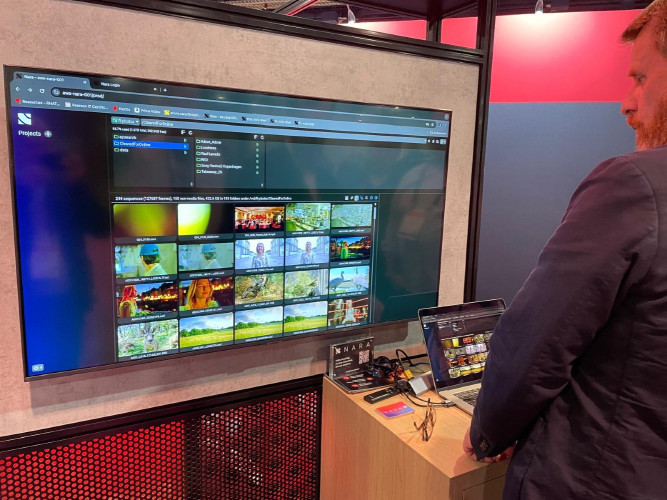
So what does one do? One uses After Effects, thats what. This is another topic thats been done to death (this guy goes into a bit more detail, for example), but the basic gist is you import your RAW file into After Effects, use their RAW plug-in for your basic colour correction, then export either a proxy or an almost lossless version to edit, depending on your preference. After doing my adjustments of the RAW file, which were mainly just making sure every shot had a similar colour temperature and that I lost minimal information, I chose to export ProRes 4444 files at full 2.5K resolution.
Then we brought all of that into Premiere, locked the cut, and sent everything back into After Effects via Dynamic Link for final grading and effects (that way we could also pretty easily go back to the original RAW file if needed). Maybe we could have been more clever with proxy files, but the computer can handle editing those ProRes files and we liked having full-res stuff ready to go in every stage of the edit¦ just in case.
Flexible Like you Read About
Its the flexibility of the image in post that really floored me. We wanted the ad to have a simple, documentary feel at first, then to lean towards a modern blockbuster. The idea was to suggest that there was a Michael Bay movie underneath. As the ad builds to its epic conclusion, the grade gets a bit more intense and we start throwing in the lens flares. Both the documentary and the blockbuster look were relatively simple, in the end, thanks to the immense amount of information contained in each RAW file. This little camera cant match an Alexa or an F65 (or whatevers out when youre reading this), Blackmagic wouldnt make that claim for a second, but it does give smaller budget productions the ability to stretch that budget a bit further.