In my last article, I discussed modelling of the ‘talent’ by choice of lamp, and careful choice of the horizontal and vertical angle of the ‘key’ light. Having made those choices my next priority would be to choose a ‘back’ light. It is also sometimes known as a ‘hair’ light which gives a pretty good clue as to its function.
Just to say that we are still talking ‘Black box’ lighting where you have full control. Dealing with windows and other annoying real world stuff will come later.
Essentially it has two main functions:
1) To enhance the 'solidity' of the picture, making up for the lack of the third dimension in a TV screen by highlighting the hair and shoulders and giving some apparent ‘depth’ to your images.
2) To reveal texture in the surfaces that it glances.
Having said that, although usually desirable, it’s not essential. If a bald head or white hair causes nuclear burn out in your highlights just switch it off.
The angle of elevation of the backlight can be steeper than the key light; up to about 60 degrees. If you go too steep, you are in danger of getting a 'negative penguin' effect on a seated artist. This is when the shadow of the head forms a dark shadow on an otherwise brightly lit chest. (Also known as a 'bib')
This can also result if a person sits well back in a sofa or chair, which has a low back. (I’m thinking Daytime Chat shows.) The type of seating should be ‘clocked’ at the time of focusing because although the designer is not likely to be able (or willing) to change it, it is probably worth pointing out to him/her of the lighting problem that results from such seating.
If you go too shallow, there is the danger of a flare in the camera lens or even the lamp getting in shot! Remember also that the angle is a combination of the height of the lamp and the distance between the person being lit and the lamp position. Bear this in mind when setting up. Generally speaking, the backlight can be a lower power lamp than the key as it is likely to be physically closer to the subject and can be ‘spotted’ to some extent.
If the subjects are likely to remain seated, a small lamp such as a Dedolight can be used. Small lamps have the advantage of requiring smaller, lighter stands/clamps or magic arms.
Which brings us onto the practicalities of getting your lamp in the ‘right place’. Whereas the key light is going to be out of shot (in a single camera shoot) your back light is likely to be on the edge of your shot on some kind of ‘sky hook’.
I would say that usually, a backlight should always be ‘back’ with respect to the
camera. That is to say that lamp, artist and camera should normally be in a straight line. There are differing opinions on this as on other aspects of lighting, but I believe it makes a good starting position. If the lamp moves too far round to the side or if the head turns slightly there is a danger of the backlight catching the tip of the nose. This is most unattractive and distracting.
If the backlight is off axis, it will no longer give a symmetrical effect; separation from the background will be limited to one side of the lit person.
Two backlights, slightly separated, can be better than one when used for someone with long hair. This however has the snag of throwing two forward going shadows on the floor or desk which would be distracting in a wide shot as well as taking longer to rig. It’s also an extra lamp that has to be carried and rigged!
The Kicker
An alternative to backlight is to use a kicker, which essentially is a lamp at head height, which is set to glance down the side of the face on the side shadowed by the keylight. This is a technique much used in the world of film. (To great effect in my opinion)
The advantage of using a kicker is that you can light a person with just two lamps as the ‘kick’ down the shadow side of the face effectively fills the shadows as well as rim
lighting the person.
It gives quite a ‘dramatic’ look to the face which clearly needs to be appropriate to the nature of the item. It also has the advantage of not needing to have its stand or support to be hidden. It can stand just out of shot. Careful adjustment of the barn doors is essential to avoid causing a flare.
In summary
Remember that a backlight is not essential. If a lamp is dimmed right down, the colour temperature goes very low and this will look quite odd and unattractive on a bald persons head. That’s the time to ‘bite the bullet’ and just fade it out. Just because you have rigged and focussed a lamp does not mean that you are obliged to use it. Always let your eyes (via the camera) be the judge.
When focussing a backlight (or any other lamp for that matter) set the barn doors carefully and adjust them so that they are localised to the area that need to be lit. There is absolutely no advantage to allowing ‘spill’ light to go everywhere. Indeed, in a situation where you have many lamps focussed in a studio, you can be sure that spill light will cause problems. Generally speaking I say: “One lamp, one job.”
Individual backlights are nearly always better for a panel of two or three people rather than one lamp covering all. That is certainly the case for individuals that are likely to be seen in close up. Often you will have little time to ‘tweak’ once your interviewees are sat in front of camera so make it easier on yourself by having the option to dim your backlights with in line dimmers rather than having to clip bits of ND (Neutral Density filter) on individual lamps.
Neither is it necessary to let the back light go all the way down to the floor, especially on a seated person. I would just set the barn doors to light the upper half of the body, maybe even head and shoulders on occasions. This has the advantage of ‘cleaning up’ the floor of conflicting shadows from all the light sources.
Although my studio training discipline always has me starting with a lamp in ‘fully flooded’ mode (for evenness of the field of light), I would certainly not be too worried about using a small amount of ‘spot’ if I needed more intensity for a backlight or kicker.
The Fill, or Contrast Control Light
The Fill' Light has two main functions:
- To provide contrast control so that the pictures are within the technical limitations of the T.V. system. (Whilst the eye can accommodate a contrast range of in excess of 1000:1, Television pictures need to be 40:1 or less)
- To control the 'mood' of the pictures according to artistic requirements. More fill light produces, curiously, a 'High Key' picture which has nothing to do with the angle of the Key light, it actually means a picture with a low overall contrast ratio. Conversely, a 'low key' picture has little fill light and is therefore quite contrasty.
Choice of kit
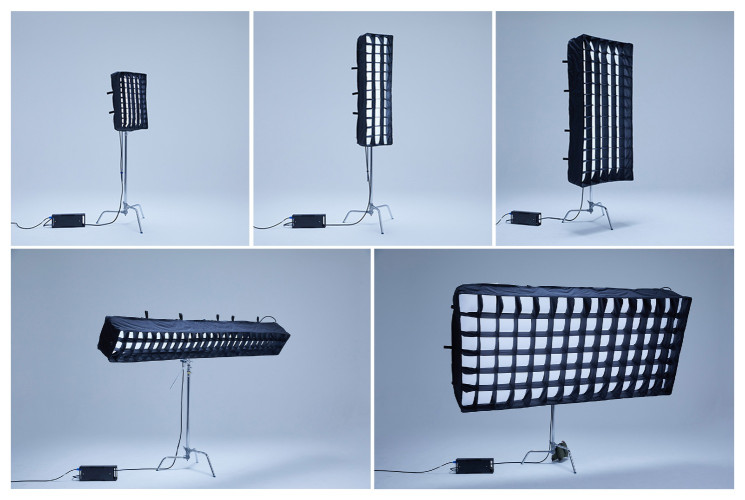
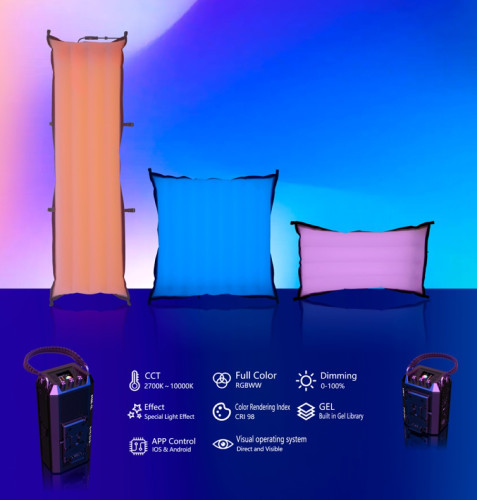
Soft lights by definition will always be bigger than hard sources, simply because they need to be a wide source of light which is not in itself likely to cause extra shadows. Videssence or kinoflow type units use specially coated fluorescent tubes to give light of a particular colour temperature. They use little power (important on location) and provide soft fill light to lighten the shadows that the key light produces.
LED soft lights are the new kids on the block, they are also good on power usage. ROSCO Lighting, for example, make the impressive ‘litepad’ which I have used recently. They are much more compact than fluorescent features and are available in numerous sizes and shapes but are only at 6000K at the time of writing. However, do check out the colour rendering index (CRI) of non incandescent sources as they do not always reproduce colour accurately. The nearer the value of CRI to 100 the better. LED sources are getting better but there’s still a way to go.
When lighting a single person, I find it helpful to think of light them in a natural way simulating daylight. Having established the key (sun) light, which is a hard source, contrast control should normally be a soft source (skylight). There are, of course, exceptions to which I will refer later. Aren’t there always?
My own personal preference is for the soft, fill light to be at about 90 degrees to the angle of the keylight. (as above) In this position, it just fills in the shadow area of the face and does not interfere with the intensity of the keylight. If you fill from near the camera lens position it will add to the key light intensity as well as filling the dark areas. Important to note that the perceived softness of a light source is very much a function of the distance from the source to the subject.
Put another way, a small light source the size of an A4 sheet of paper 1 metre away from the subject is similar in apparent size to a piece of expanded polystyrene sheet 2 metres by 1 metre at 4 metres distant! I know which I’d rather light if I was a cameraman shooting a piece to camera. Remember one of the most important but least often remembered rules of lighting, the area that is not seen on camera is all yours! If the lens doesn’t see it you can put a light source there.
Now I did indicate earlier that fill light does not have to be from a soft source. The problem with soft light sources is that because they are tend to be physically large in order to produce light that doesn’t give shadows and that there are no barn doors, the light does tend to go everywhere and not just where you want it. This might not be a problem if you are lighting one person in isolation against black drapes, but it certainly is an issue if you are lighting a one plus three in a crowded news studio.
In this article I have discussed the three main elements of Portrait lighting individually but also hinted at how they interact. One mans keylight is another mans backlight in certain situations! Next time I propose to look at variations of Portrait lighting and how to cope with them in more detail. Portrait lighting is just one module of the huge gamut of lighting scenarios for TV, but it is arguably the most important element that you need to grasp.
There was once a ministerial interview on a certain late evening Current Affairs programme in which the lighting of the minister was pretty dire; eyes in deep shade and a lack of contrast control on a very severely lit face. When the opposition were invited to an interview on the same programme a couple of days later, they brought along their own lighting person. This is not anecdotal; it was actually reported in the national press. So beware, bad lighting is noticed and is not good for your career!


